
 |
|
| 08-27-2020, 09:14 AM | #112 |
|
Major
 4778
Rep 1,189
Posts |
Nachtblau.
My dad buttoned up the headliner and then started on the wood dash install on the e9. 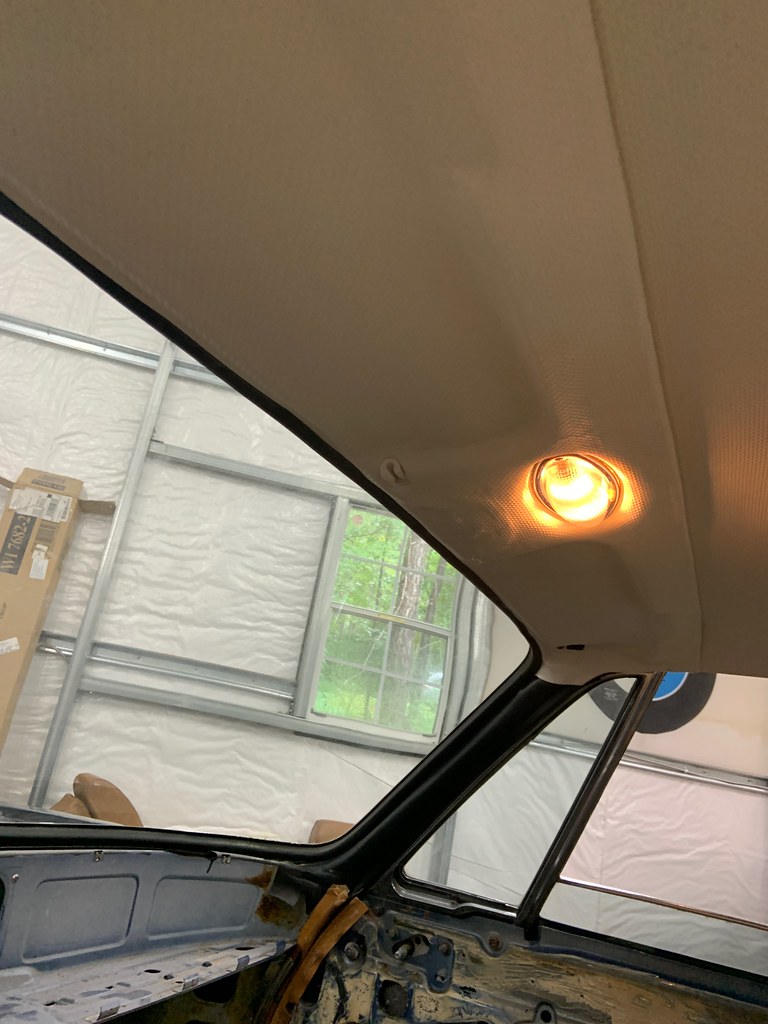 Untitled by Nick Wood, on Flickr Untitled by Nick Wood, on Flickr Untitled by Nick Wood, on Flickr Untitled by Nick Wood, on Flickr Untitled by Nick Wood, on Flickr Untitled by Nick Wood, on FlickrThis came out so nice. Especially for someone that that had never really veneered anything before. 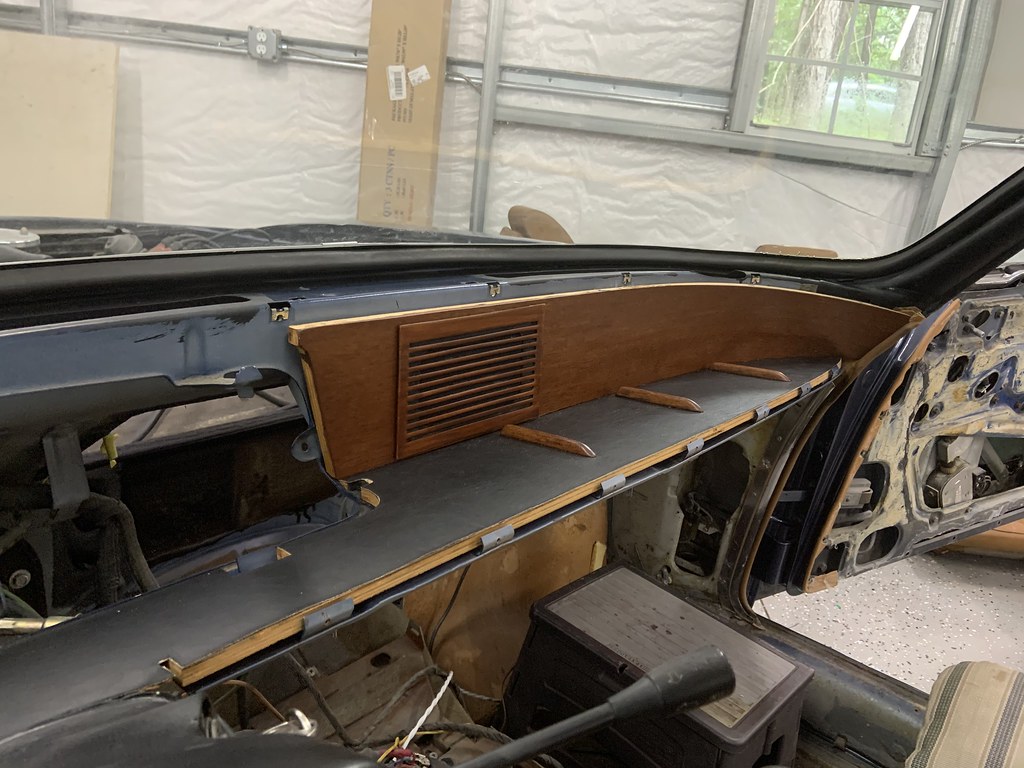 Untitled by Nick Wood, on Flickr Untitled by Nick Wood, on Flickr |
| 08-27-2020, 01:05 PM | #113 |
|
Colonel
 8008
Rep 2,496
Posts Drives: 9Y0 Cayenne S Join Date: Mar 2019
Location: Einbahnstraße
|
Coming along nicely!
|
|
Appreciate
0
|
| 08-28-2020, 08:41 AM | #114 |
|
Major
 4778
Rep 1,189
Posts |
From the "it aint stupid if it works" files, my dad came up with a way to try to break the rusted headrest loose. (Yes everything really does rust on these cars.)
 Untitled by Nick Wood, on Flickr Untitled by Nick Wood, on FlickrBut it technically hasnt worked yet, so its stupid. We sprayed some "panther wiz" as my dad calls it into the tube and he is letting it soak, we will try again today. While the PB blaster was doing its thing my dad put the chrome trim on the dash.  Untitled by Nick Wood, on Flickr Untitled by Nick Wood, on Flickr Untitled by Nick Wood, on Flickr Untitled by Nick Wood, on FlickrAnd after that he got started on the dash.  Untitled by Nick Wood, on Flickr Untitled by Nick Wood, on FlickrI will probably spend some time sanding on compounding the paint this weekend. I dont know why, its just paint, but I am nervous about it. |
|
Appreciate
4
|
| 08-28-2020, 10:36 AM | #115 |
|
Colonel
 8008
Rep 2,496
Posts Drives: 9Y0 Cayenne S Join Date: Mar 2019
Location: Einbahnstraße
|
Great progress. Does the seat back panel come off easily? You might get access to the head restraint internals if the seat back was removed. With many modern cars, this is the case.
|
|
Appreciate
0
|
| 08-31-2020, 09:34 AM | #117 |
|
Major
 4778
Rep 1,189
Posts |
Well, we got the headrest out of the seat. It was a combination of the contraption my dad made and hitting the stuck post with an air hammer to loosen up the rust. Yes, everything in these cars rusts.
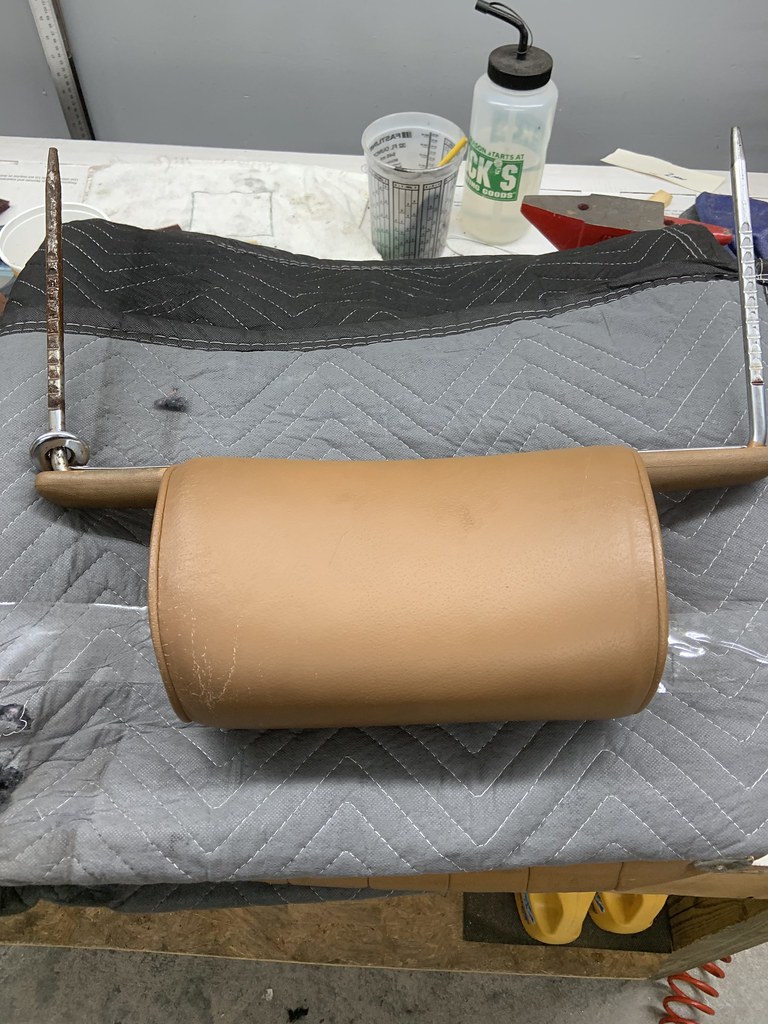 Untitled by Nick Wood, on Flickr Untitled by Nick Wood, on FlickrI took the seat back home and got to work. I did a little more sanding to smooth out where I filled in the pealing leather.  Untitled by Nick Wood, on Flickr Untitled by Nick Wood, on FlickrAnd applied a couple coats of dye. It doesn't look great up close but I think its passable for now.  Untitled by Nick Wood, on Flickr Untitled by Nick Wood, on FlickrI hauled them back to my dads shop Saturday morning and then got started on the E9's paint. I love the convenience of my wagon, I can just toss parts in it and have fun on the back roads on the way to drop them off.  Untitled by Nick Wood, on Flickr Untitled by Nick Wood, on FlickrI also got started on the wet sanding of the e9. I started off hitting it with 1500 by hand and then 3000 on the Porter Cable.  Untitled by Nick Wood, on Flickr Untitled by Nick Wood, on Flickr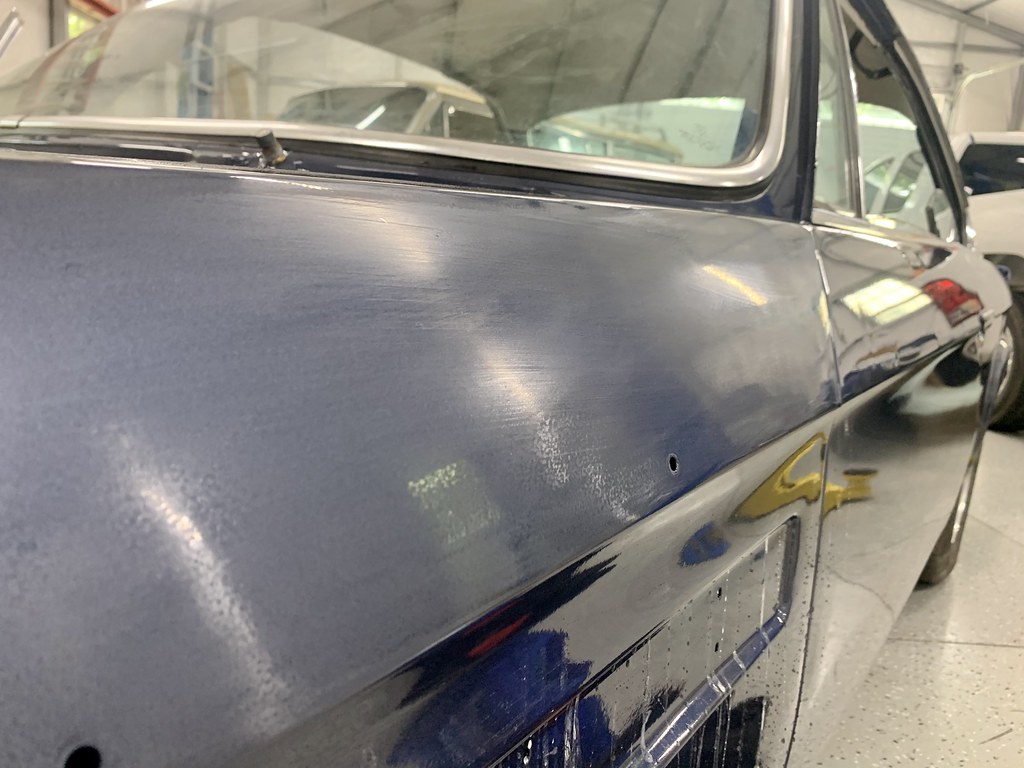 Untitled by Nick Wood, on Flickr Untitled by Nick Wood, on FlickrNo going back now. I hit it with a couple passes of Jescar correction compound and a Megs Microfiber cutting pad.  Untitled by Nick Wood, on Flickr Untitled by Nick Wood, on Flickr Untitled by Nick Wood, on Flickr Untitled by Nick Wood, on Flickr Untitled by Nick Wood, on Flickr Untitled by Nick Wood, on FlickrIt came out great, but it took a lot of passes with the compound. While I was working on the fender my dad sanded the roof. I don't know what he did but it would not correct out. I made a Harbor Freight run for some Megs 101, which they didnt have but I got 105. I also bought one of their sun match lights and stopped by my house to get the dewalt with the woolpad(this is the nuclear option.)  Untitled by Nick Wood, on Flickr Untitled by Nick Wood, on FlickrI got the roof to about 90% perfect. There are some actual scratches in it, so I think my dad picked up some trash in the sandpaper. Its something I will only notice but, I will totally notice it. Not sure what the plan is, I am hoping the polish and coating/wax will hide them a little. I then moved on to the drivers door, with the same process of sanding and microfiber pads but using the Megs 105. It corrected out a little easier but it still took a couple of passes. This light was also making me chase every little mark and swirl, I am pretty impressed, its a nice product.  Untitled by Nick Wood, on Flickr Untitled by Nick Wood, on FlickrThe door, after correction.  Untitled by Nick Wood, on Flickr Untitled by Nick Wood, on FlickrWhen working the door, there were a couple little spots were there were nubs in the clear. I sanded those spots a little harder, but when I compounded the car those spots corrected easier. I guess I am knocking the orange peal down level and this is making it easier for the compound to brighten it up. I did a small test spot on the drivers rear 1/4 and it confirmed my theory so I sanded down the panel a little harder than the rest.  Untitled by Nick Wood, on Flickr Untitled by Nick Wood, on FlickrAnd this pretty much corrected out with 1 pass of 105. I think this will be my process on the rest of the car.  Untitled by Nick Wood, on Flickr Untitled by Nick Wood, on FlickrThere are a few small areas that I missed. I have a 1" and 2" pneumatic random orbital kit coming, and I am hoping its going to work for the tight areas. More to come this week. |
| 08-31-2020, 10:32 AM | #118 | |
|
Colonel
 8008
Rep 2,496
Posts Drives: 9Y0 Cayenne S Join Date: Mar 2019
Location: Einbahnstraße
|
Quote:
|
|
|
Appreciate
0
|
| 08-31-2020, 11:06 AM | #120 | |
|
Major
 4778
Rep 1,189
Posts |
Quote:
Yes and no. For most, the paint would look amazing but there were some issues I wanted to address. I used to have guys send their brand new BMWs, Porsches, Ferraris, etc etc to me straight from the dealer still wrapped in plastic. Even in those very high end cars I could find marring, nibs in the clear, and wet sanding marks. So yes, I could have just waxed it and let it go and it would have looked great, but there were some small issues that I wanted to address. If I had sent the car out for a $30k paint job at The Werke shop, they would have someone wet sand and polish it for delivery too. I didn't spend nearly that much on this paint job, knowing I would have to correct it. Last edited by MPOWER5266; 08-31-2020 at 01:52 PM.. |
|
|
Appreciate
4
|
| 09-03-2020, 09:25 AM | #121 |
|
Major
 4778
Rep 1,189
Posts |
Like every project my dad and I work on there are usually some steps back. He was buttoning up the dash and was about to install the cluster when he noticed something. When we tried to put in the hood over over cluster it scratched the wood and the hood wouldnt fit right. Our plan was to keep moving forward and touch up the damage to the wood. Well he tried to install the cluster and we figured out why the wood was scratched, the veneer was covering a hole. So everything came out and my dad cut out the hole.
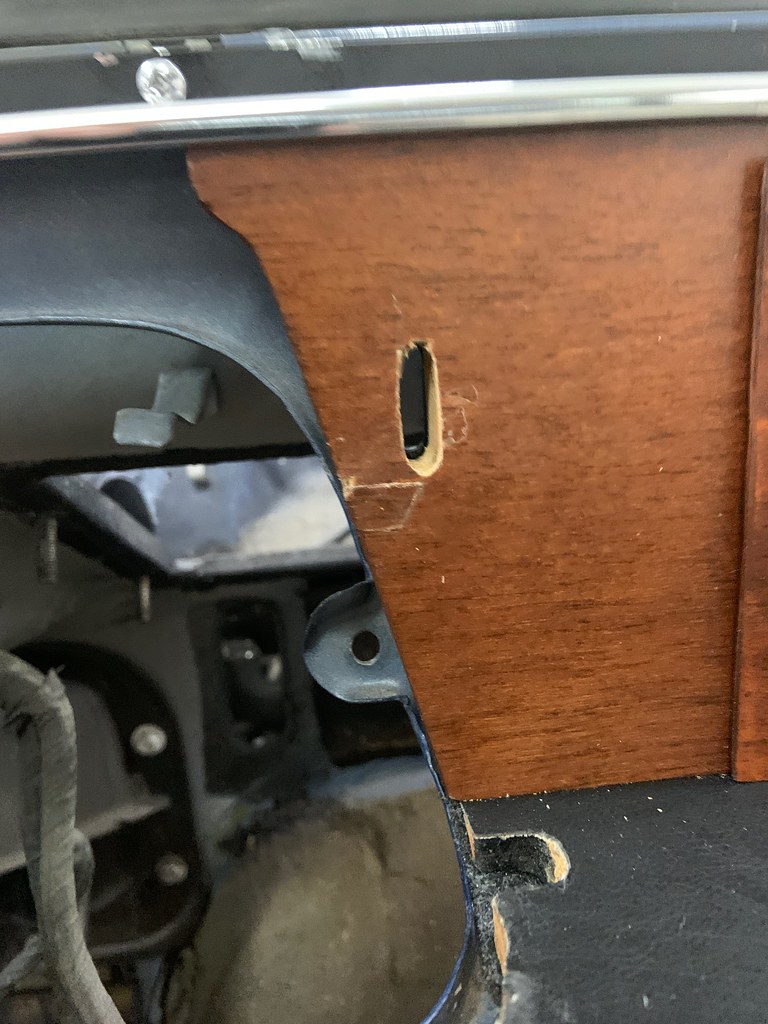 Untitled by Nick Wood, on Flickr Untitled by Nick Wood, on FlickrEven better news, the scratches will be covered so no need to touch up. So the dash is back out, but the wood is back in and the cluster is installed. I guess this was kind of a step to the side vs a step back?  Untitled by Nick Wood, on Flickr Untitled by Nick Wood, on FlickrHopefully we can get the dash back in soon. I was planning on working on the drivers side headrest but we had a power outage for a few hours so I took my 02 out for a cruise instead.  IMG_7976 by Nick Wood, on Flickr IMG_7976 by Nick Wood, on FlickrLast edited by MPOWER5266; 09-03-2020 at 09:51 AM.. |
|
Appreciate
7
|
| 09-04-2020, 03:31 PM | #123 |
|
Major
 4778
Rep 1,189
Posts |
|
| 09-08-2020, 10:01 AM | #124 |
|
Major
 4778
Rep 1,189
Posts |
Busy weekend on the E9. I ordered a pneumatic polisher from CHY-NAH with 1,2, and 3 inch backing plates. I tried it out Saturday afternoon on some tight sections. It is garbage but it got the job done.
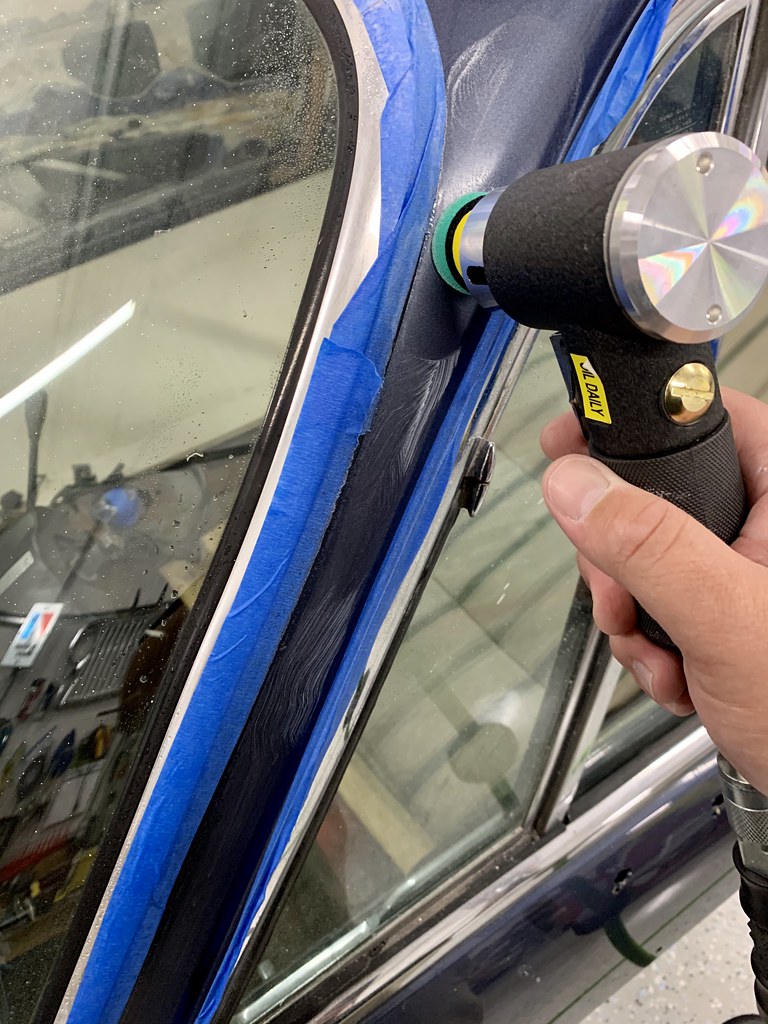 Untitled by Nick Wood, on Flickr Untitled by Nick Wood, on Flickr Untitled by Nick Wood, on Flickr Untitled by Nick Wood, on FlickrI also gave the underside of the hood a quick compound and polish.  Untitled by Nick Wood, on Flickr Untitled by Nick Wood, on FlickrMonday I woke up early intending to knock out some projects. I started by cleaning and dyeing the last leather piece on the e9. 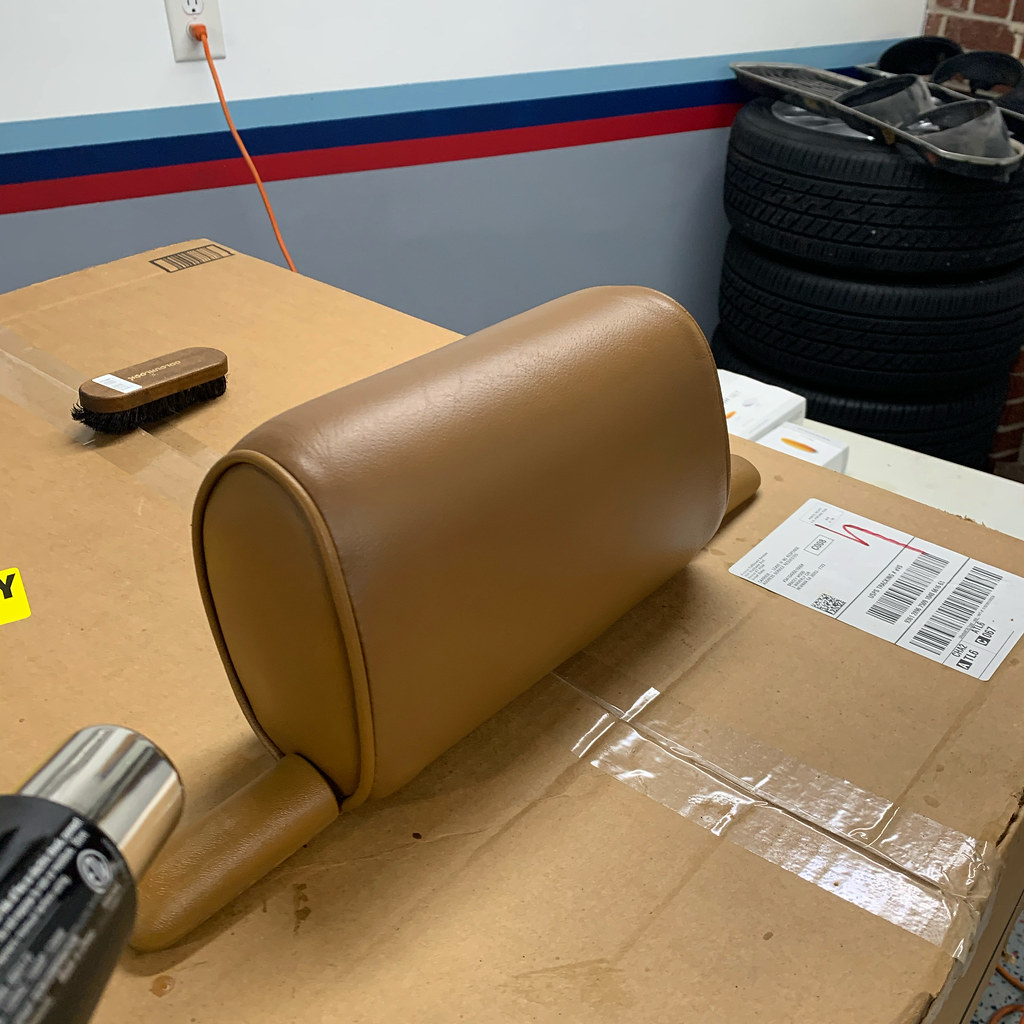 Untitled by Nick Wood, on Flickr Untitled by Nick Wood, on FlickrAfter that I wet sanded and polished the trunk on the e9.  Untitled by Nick Wood, on Flickr Untitled by Nick Wood, on FlickrAfter compound.  Untitled by Nick Wood, on Flickr Untitled by Nick Wood, on FlickrI went ahead and polished it out since it was looking good and I wanted to see what the finished product would look like.  Untitled by Nick Wood, on Flickr Untitled by Nick Wood, on FlickrThere are still some light straight line scratches from sanding likely. I may go back and hit the whole car with a more aggressive compound but Im not sure. I will likely pull it out into the sun when I am done and look it over. The trunk is looking killer though.  Untitled by Nick Wood, on Flickr Untitled by Nick Wood, on Flickr |
|
Appreciate
5
|
| 09-08-2020, 11:40 AM | #125 |
|
Colonel
 8008
Rep 2,496
Posts Drives: 9Y0 Cayenne S Join Date: Mar 2019
Location: Einbahnstraße
|
More good progress!
|
|
Appreciate
0
|
| 09-11-2020, 04:25 PM | #127 |
|
Brigadier General
 
3592
Rep 3,114
Posts Drives: G06/G20/F30/F15/F10/E90 Join Date: Feb 2011
Location: Baltimore, MD
|
This is going to be an epic build
 |
|
Appreciate
0
|
| 09-16-2020, 03:01 PM | #128 |
|
Major
 4778
Rep 1,189
Posts |
Kind of a boring update. Over the weekend I did a little more sanding and polishing. I knocked out the rear panel and the top edge of the rear 1/4.
 Untitled by Nick Wood, on Flickr Untitled by Nick Wood, on FlickrMy dad also got started on the trunk. We ordered some tools to replace the missing ones from the kit, and the holder for the tools since ours was cracked. He also pulled out the panels from the trunk, cleaned it well and put some rust encapsulator paint down. Not original, and there wasnt a lot of rust but this will keep it from rusting and it will be covered.  Untitled by Nick Wood, on Flickr Untitled by Nick Wood, on FlickrAnd one of the floor boards in the trunk was rotten so we pulled the elephant skin off and we are building a new one.  Untitled by Nick Wood, on Flickr Untitled by Nick Wood, on Flickr The updates may be slow or few and far between for the next few weeks. My wife and I are having our twins this weekend, so I may not have a ton of time to work on the car. My dad will still be plugging away though. Last edited by MPOWER5266; 09-17-2020 at 09:08 AM.. |
| 09-16-2020, 07:03 PM | #129 |
|
Lieutenant Colonel
 5010
Rep 1,974
Posts Drives: Here and There Join Date: Jul 2013
Location: North Georgia Mountains
iTrader: (1)
Garage List (2)11 BMW E90M Stri ... [10.00]
(1)11 BMW E90M Stri ... [10.00] 98 Lexus LS400 [10.00] 16 Toyota Land Cruiser [10.00] 97 Toyota Land Cruiser [8.33] |
Congrats on the twins! We’re expecting our first (mono) in a couple weeks.
|
|
Appreciate
1
MPOWER52664778.00 |
| 09-17-2020, 09:15 AM | #130 |
|
Major
 4778
Rep 1,189
Posts |
|
|
Appreciate
2
chassis8007.50 spazzyfry1235009.50 |
| 09-17-2020, 09:30 AM | #131 |
|
Colonel
 1755
Rep 2,835
Posts |
With the rust encapsulator, what do you use and could it be used over steel in any project? Have a house from 1910 that has box gutters that are rusted and debating the best option.
__________________
2006 Z4M Coupe - ZHP knob, stubby antenna, clutch delay delete
|
|
Appreciate
0
|
Post Reply |
| Bookmarks |
|
|